
With all things being equal — price, itinerary, accommodations — a potential client interested in booking a trip may be compelled to choose a travel company with the most appealing collateral material. From brochures and posters to website pages and Instagram accounts, photography is a vital part of a company’s marketing efforts.
But where do these images come from, and how can they be produced and used most effectively to ensure a company’s image is accurately reflected in the photographs?
Sourcing Quality Photography
A new trend in the travel industry is for companies to bring in resource photographers who, rather than shooting for a specific publication, brochure, or advertisement, join existing tours and use their cameras and eyes to help build a large digital library for their clients. Some adventure travel companies use photography contests as a way to source imagery from past clients, who are thrilled to share their experiences with other potential travelers.
Other options include hiring an in-house photographer or someone on a contract/freelance basis, sourcing from a stock photography agency, and requesting rights-cleared images from government and regional tourist organizations and local vendors.
Getting the Best Picture
Regardless of who creates the photographs, it’s important to make sure the imagery can hold up well enough to be used for a typical double-page spread in a magazine. Ideally, that means the image should be at least 300 dots per inch (dpi) at 11x17 inches, the size the world’s top professional stock agencies, such as Getty Images, require from their contract photographers.
I have seen way too many pixelated posters at trade shows that have turned an exotic location into a bunch of uninspiring dots. The image might look great at 72 dpi at 8x10 inches on a website or Instagram posting, but it will fall apart when printed because of that medium’s higher dots-per-inch requirements.
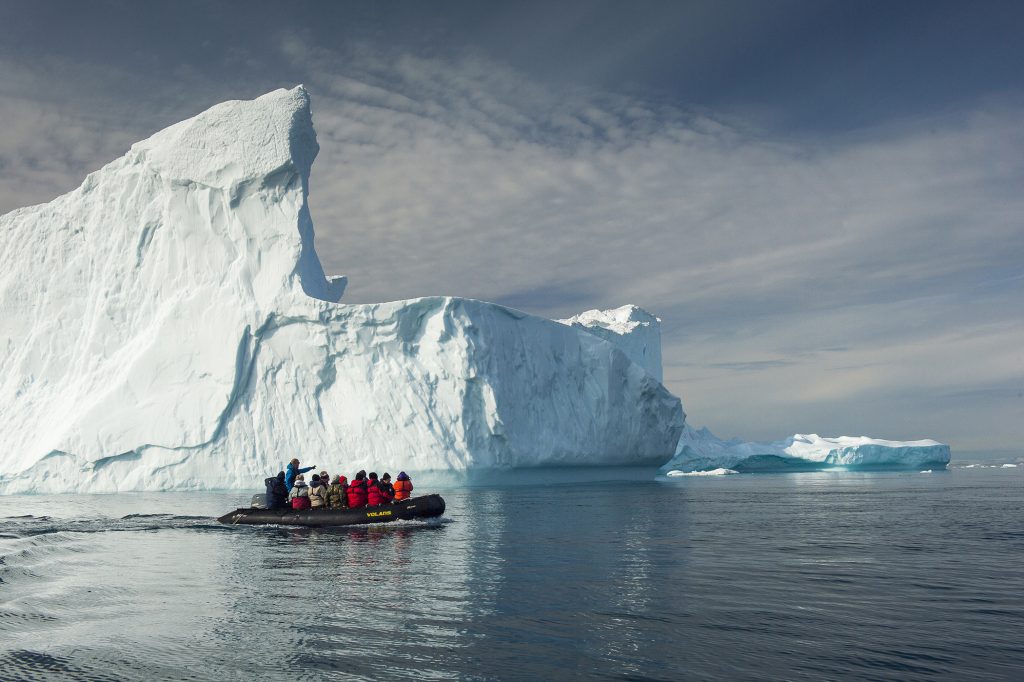
Avoid the static “I was there” shots. Rather, create or acquire images that get potential clients to think, “I want to be there.” They need to be able to imagine themselves in the images. A good example is my photograph of a Zodiac passing by an iceberg in Disko Bay for Adventure Canada. This type of promotion works far better than just straightforward shots of business fronts or bicycle racks no matter how well done they are.
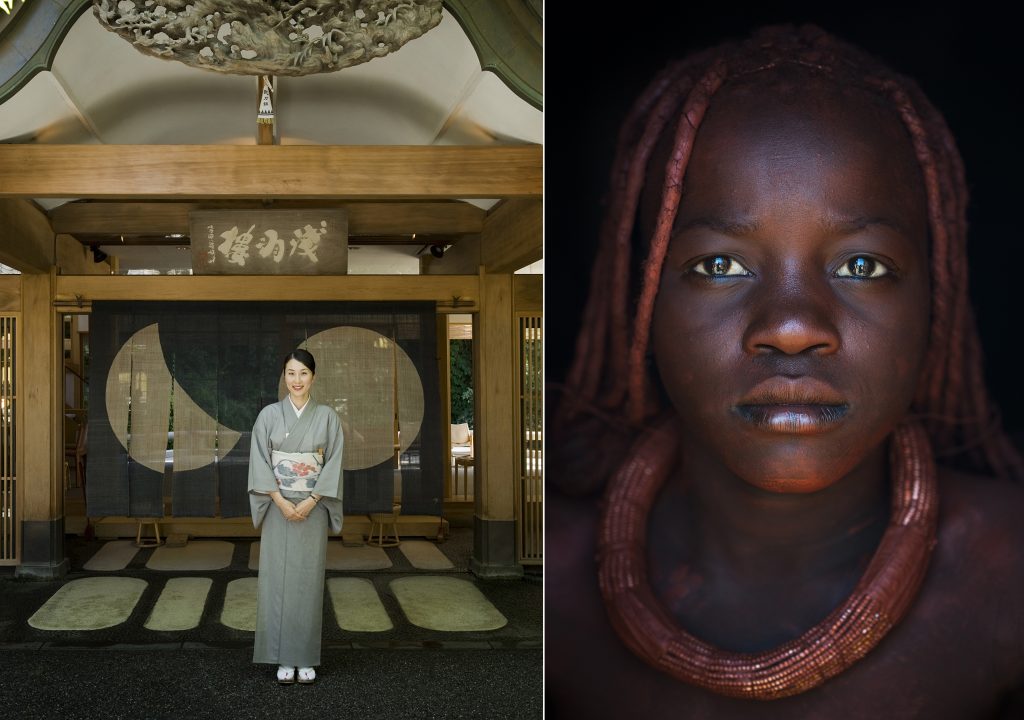
Environmental portraits, where people are photographed in an environment appropriately related to who they are or what they do, such as my image of a kimono-clad owner standing in front of her traditional ryokan (Japanese-style inn), conveys a sense of place. In addition, the occasional “eyes are the window to the soul” type of photo can be a nice change of pace, but it must be of a compelling subject. My photo of a Himba teenager in Namibia serves as an example of the latter.
Adding locals in traditional attire and travelers experiencing a destination (rather than just being there) can be very compelling. It’s best to interact with photograph subjects to help convey a human element rather than hiding behind a long lens and photographing people as objects from a distance. There are exceptions, of course. Documenting people putting on a stage performance, for example, might require a longer lens. Signed model releases in the local language can expand the usage of images beyond brochures into advertising campaigns.
Until recently, the only way to get professional aerial photography was to hire an often budget-blowing helicopter or Cessna. That’s changed with the arrival of drones, which can deliver high-production value on a budget for awe-inspiring photographs that capture the magic of adventure activities from a bird's-eye view. Check with local authorities to ensure compliance with local laws before launching your flying camera.
Technical Elements
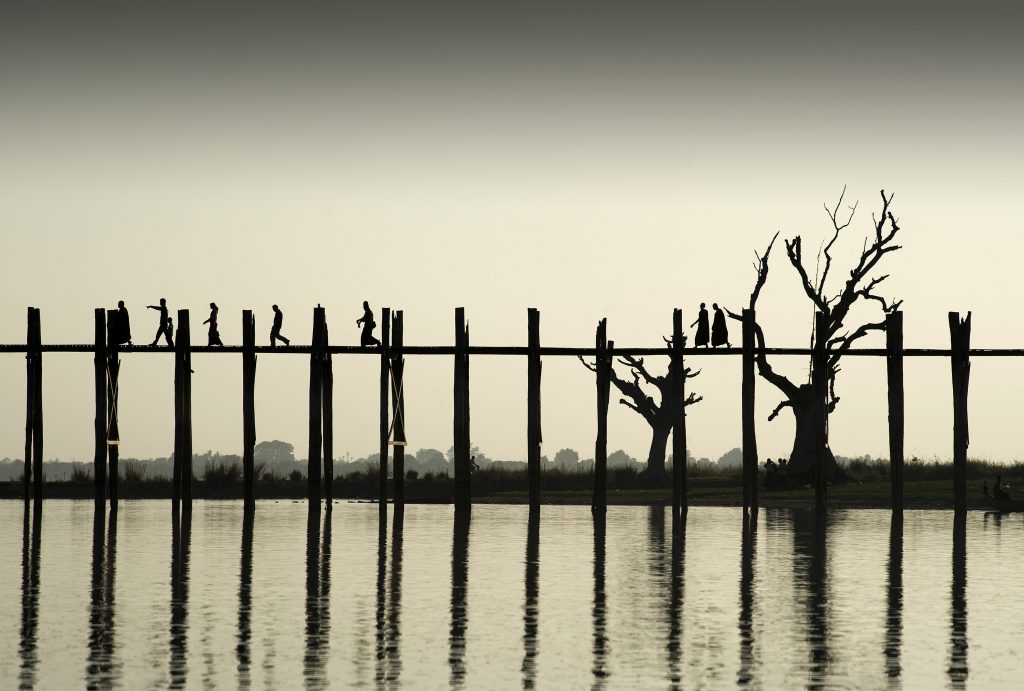
Pay special attention to the time of day as early morning and late afternoon often have the best light. My image of Mandalay’s U Bein Bridge serves as an example.
Use natural frames to give depth to a two-dimensional medium by including either architectural or organic elements in the foreground, which create a 3-D effect. Waiting for extra elements, such as an appropriately dressed person coming into frame, also provides scale that can be very effective in creating a compelling, layered shot. I will often plant myself in one location and wait for the right combination of elements to come together before depressing the shutter.
Basic photography terms
Shutter speed – Also known as “exposure time,” this is the length of time a camera shutter is open to expose light to the camera sensor.
F-stop/Aperture – The opening of the lens. The wider open (e.g. f/4), the less depth of field, and the more closed down (e.g. f/16), the more depth of field.
ISO – The sensitivity of the camera sensor. The lower the number (e.g. 100 ISO) the less digital noise, and the higher the number (e.g. 1600 ISO), the more digital noise. The lower the ambient light, the higher the sensitivity is needed.
Exposure – An exposure is made up of a combination of the shutter speed, f-stop, and ISO all working in harmony. These three elements make up the exposure triangle.
Food is an important part of the travel experience as well. Images of food can set off a Pavlovian reaction, which can be a very effective sales tool. A macro lens, or at least a magnifying diopter filter and shooting with a shallow depth of field, is often needed for the intimacy of this type of image. I often use diffused window light and a small silver reflector for food shots.
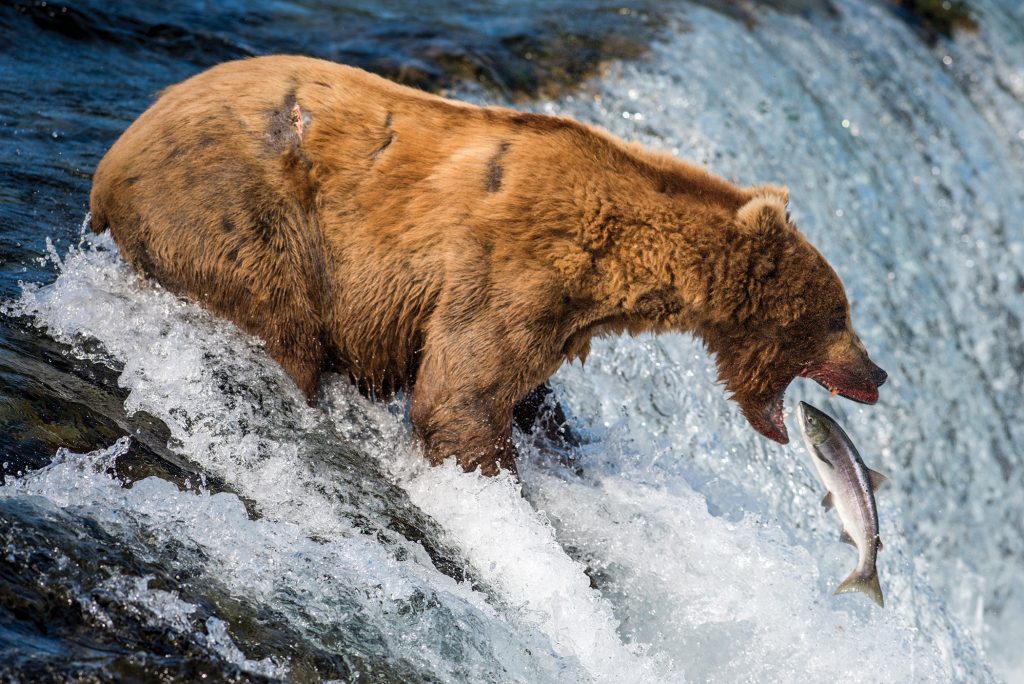
Make sure your shutter speed is fast enough to stop the action, if that’s the desired result. Capturing a bear catching a fish at Brooks Falls, Alaska, required a 1/2000th of a second shutter speed.
Pay particular attention to focus and f-stop settings to draw attention to what you want to highlight in your frame. For a dramatic landscape where everything is in focus, you might want to use a small aperture such as f/22 or f/16 with a wide-angle lens, whereas a portrait with a shallow depth of field such as f/4 or f/2.8 creates an out of focus effect surrounding the subject. This is known as a “boke” effect in the photo world.
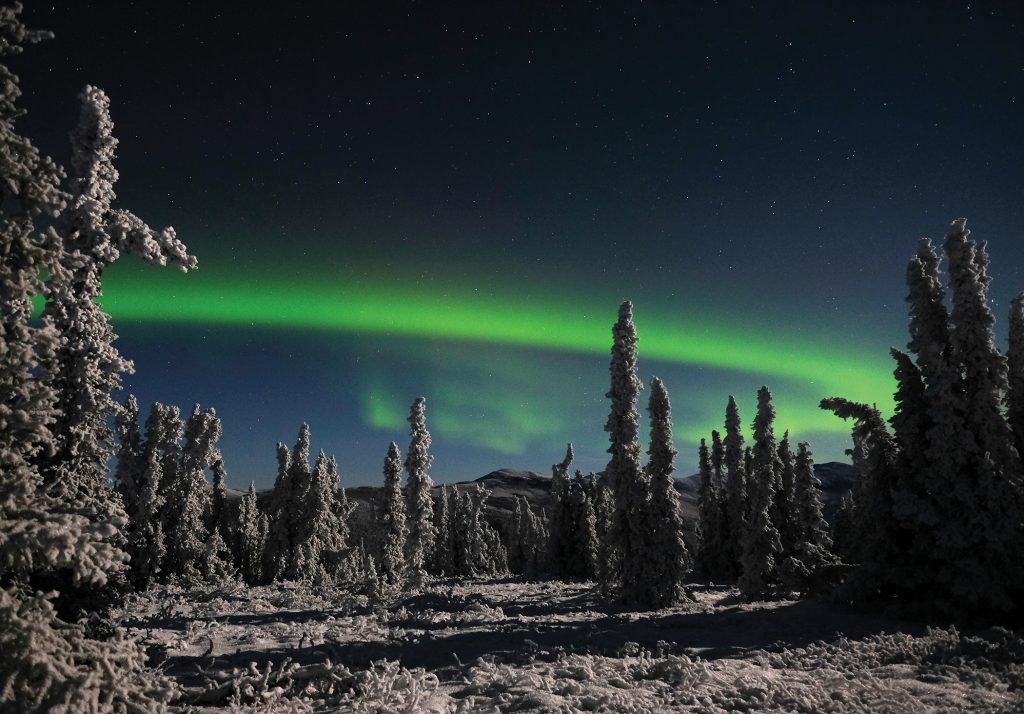
Carry a light carbon fiber tripod for dramatic landscapes shot with low ISOs in combination with small f-stops and slow shutter speeds of 1/30th or slower. For a night sky, such as my photo of an aurora which required a seven-second exposure, tripods are a must.
Using filters can also help create more pleasing images. A graduated neutral density filter helps reduce the brightness of an overly brilliant sky, and polarizers reduce reflections in water and enrich a blue sky.
Asset Management
All images, no matter how they are captured, should have file information embedded in them so accurate locations and photo credit can be given. For still photos, this is often added in Photoshop (the photo industry’s standard post-production software) under “File Info.” This is the same place where keywords can be added as well. For the file itself, I use the naming protocol “country - city - original file number.”
Since the copyright of the material is maintained by the photographer or videographer unless a “work for hire” contract is agreed to, it’s vital to clearly spell out usage rights and note those terms in a file that is referred to any time imagery is used.
Now that images conveying the excitement of a company’s trips have been created, how should they be stored so they can be quickly searched for and accessed?
At the very least, a company should have its images on external drives both on-site and off-location. A good rule of thumb is to have at least three back-up copies. Companies can outsource the storage of their images to digital asset management companies such as PhotoShelter, which are good for back-up storage and serve as a place where clients and associates can download images when granted access.
Regardless of where a visual library is maintained, the images must be of the highest quality both technically and visually. A brochure or website landing page with a strong visual that spurs a potential client to continue on with his or her search is the first step toward an amazing journey.